21 Small Coffee Bar Ideas for Apartments That Look Expensive But Are Under $100
Your kitchen is small. Your counter is already full. And every coffee bar photo you save seems to come from a house with a walk-in pantry and a budget bigger than your rent.
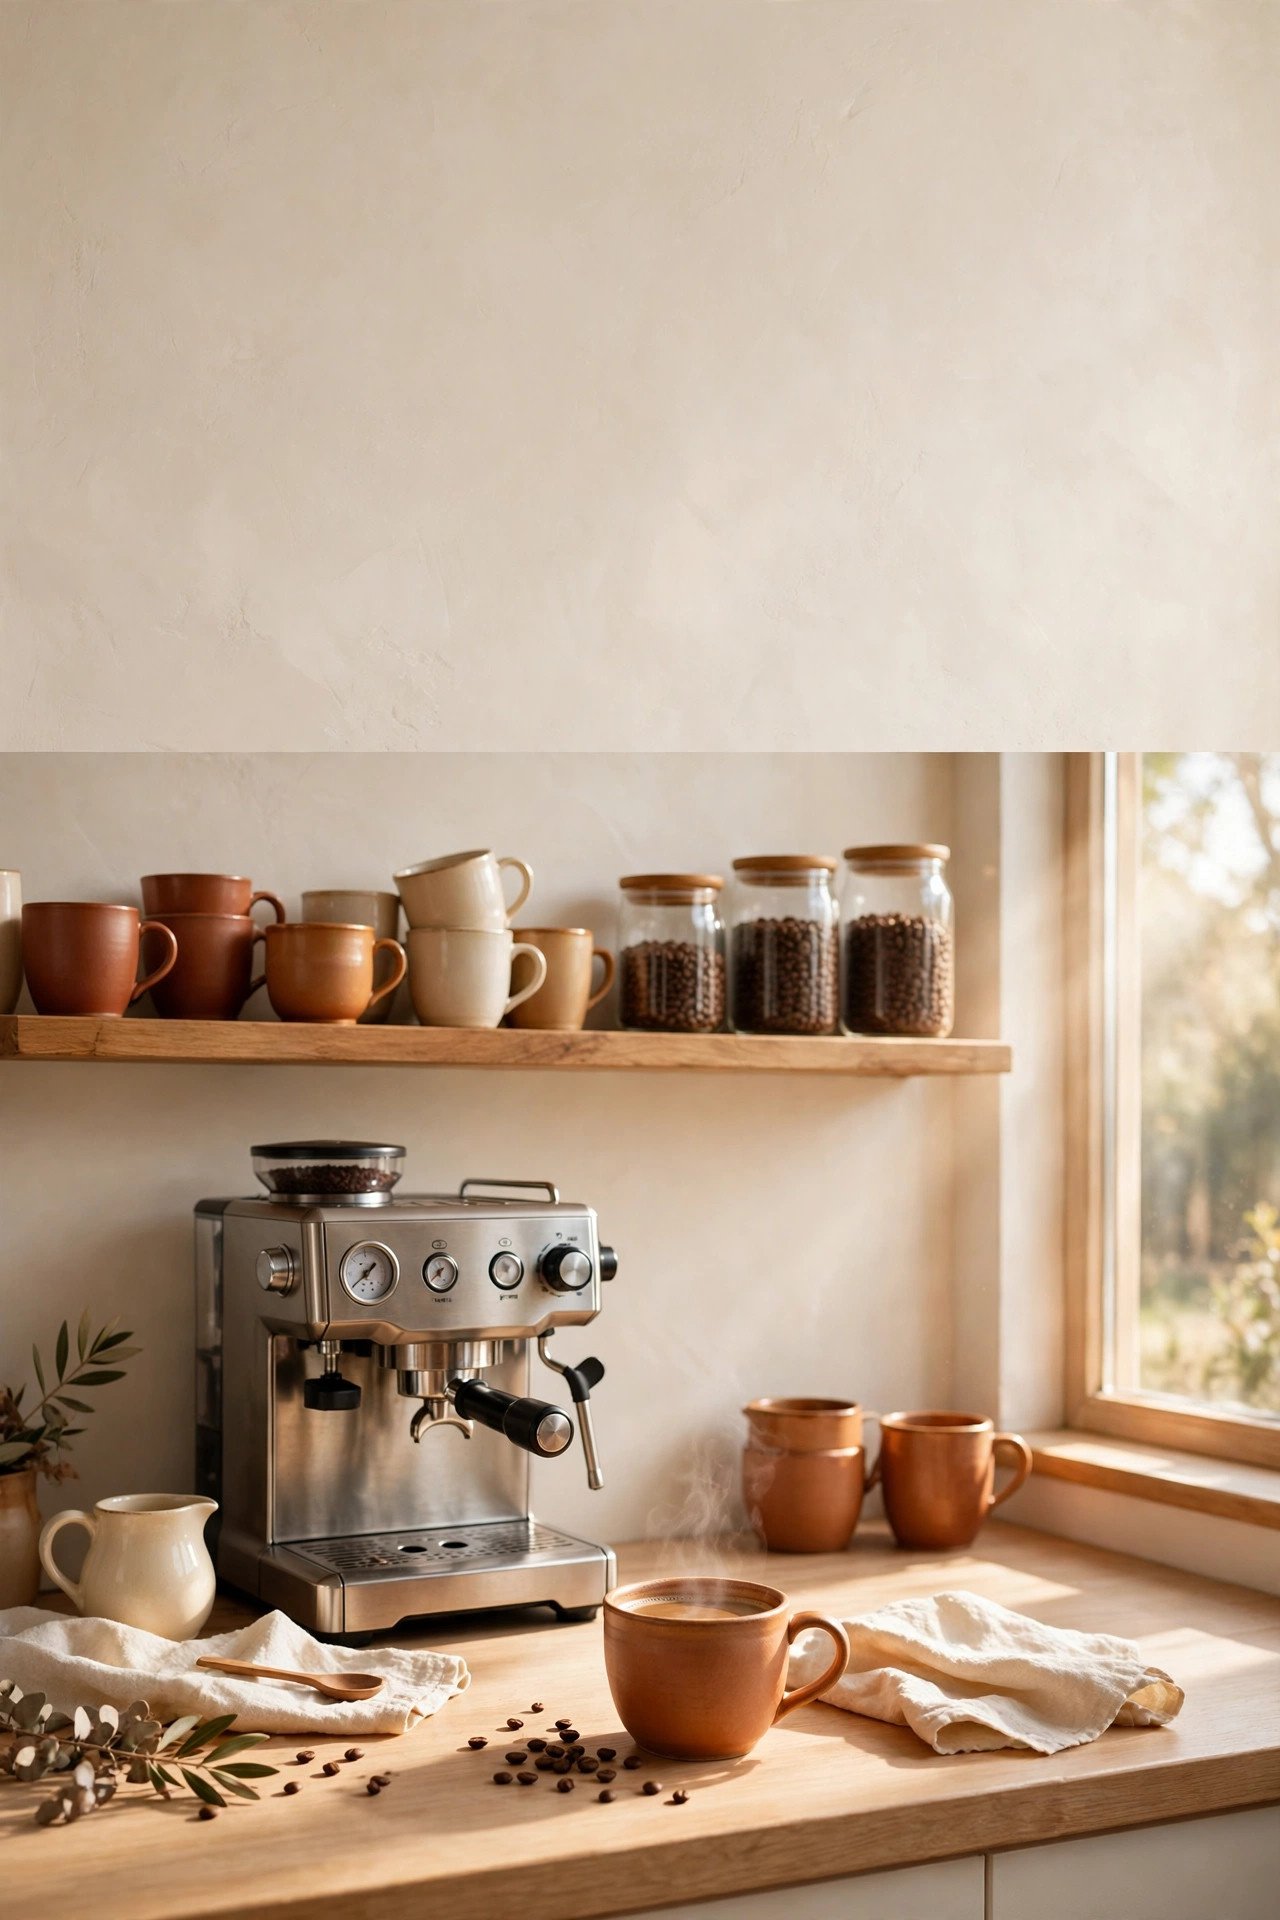
Here is the honest truth nobody puts in the caption: a coffee bar that looks expensive is almost never about the machine or the square footage. It is about a defined spot, a limited colour palette, matching containers, and a little breathing room. Those things are cheap. Some are free.
This list gives you 21 small coffee bar ideas for apartments that work in real spaces — a counter corner, a rolling cart, one wall shelf, even inside a cabinet — for $100 or less total. You will not use all 21. Pick the four or five that fit your kitchen, your lease, and your mornings, and skip the rest without guilt.
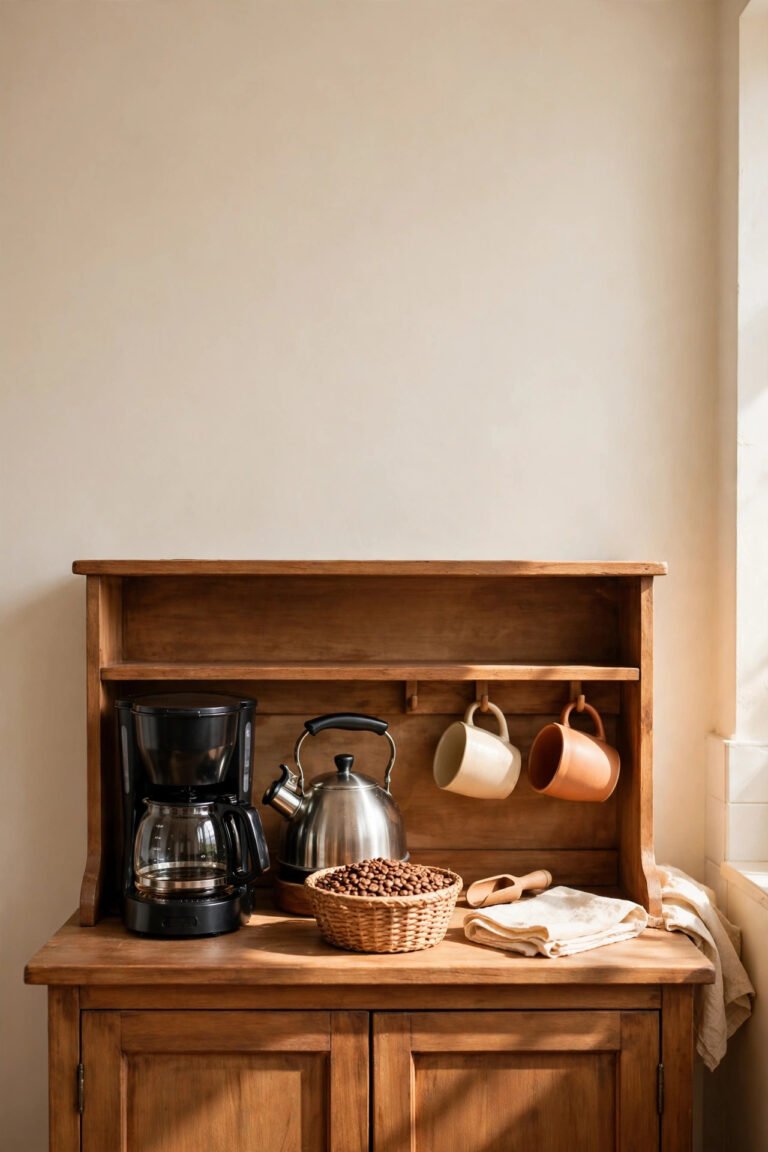
How to Use This List (and How the $100 Budget Actually Works)
The $100 is the budget for your whole setup, not per idea. Most ideas cost between nothing and about $25, and several assume you start with what you own: a coffee maker, a couple of mugs, a tray in a cupboard.
- Pick your base first (ideas 1–5). Where it lives decides everything else.
- Go vertical if you need to (ideas 6–9). Walls are free square footage.
- Add the “expensive” layer (ideas 10–15). Styling is where cheap setups look designed.
- Organize it (ideas 16–19), so it still looks good on a tired Tuesday.
- Shop smart last (ideas 20–21), when you know which gaps you are filling.
One honest note: if you do not own a coffee maker yet, the machine is a separate purchase, not counted in the $100. Everything around the machine you have fits the budget.
Start With the Base: Where Your Coffee Bar Lives
1. The Tray Trick
Put everything on one tray — wood, bamboo, black metal — and a scattered pile becomes a “station.” A tray around 12 × 16 inches holds a compact maker, a jar of beans, and a mug. The magic is practical: when you need the counter back, you lift one tray instead of moving six things. Thrifted trays usually run $3–10; a tray you own costs nothing. Fastest upgrade on this list.
2. A Rolling Cart Coffee Bar
The classic answer to “no counter space” is a slim three-tier cart, typically 12–16 inches wide. Top tier: machine. Middle: mugs and syrups. Bottom: beans, filters, backups. Measure your gaps first — most kitchens hide a dead slot of 13–18 inches beside the fridge or at the end of the cabinets. No tools, no holes, and it rolls away for cleaning or company. Basic carts run $25–45: the biggest line item in most builds, and worth it.
3. Claim One Corner — Just One
You do not need a whole wall. About 18–24 inches of counter in a corner fits a compact machine, a canister, and a mug — all a working station needs. Corners work because two walls lean the composition together, so things look intentional instead of stranded. Defend it with one rule: one in, one out. A new jar arrives, something leaves. A corner allowed to spread becomes counter clutter with a theme.
4. Hide It Inside a Cabinet
Prefer a kitchen that looks like nothing happened? Build the bar inside one cabinet. Clear the bottom shelf for a compact machine — cabinets are 12–15 inches deep, and most single-serve brewers need a footprint of roughly 6 × 12 inches plus lid room — and put mugs and supplies above. Open the door in the morning, close it at night, and the mess leaves the room. Cost: usually $0, plus a few dollars for a tray or liner.
5. Use the Top of Something You Already Own
No counter, no cabinet, no floor gap? Use the tops of things. A mini fridge, microwave cart, low bookshelf, or sturdy side table holds a compact station — a surface about 24 inches wide and 14–16 inches deep is plenty. Keep it light and low: maker, two mugs, one jar. This base is free, fully renter-friendly, and perfect for studios.
Go Vertical: Walls, Shelves, and Zero-Floor-Space Ideas
6. One Floating Shelf Above the Machine
One shelf, about 24 inches long and 8 inches deep, mounted 15–18 inches above the counter, holds mugs, beans, and a small plant — and returns the counter underneath. Height matters: lower, and the machine’s lid will not open; higher, and you stretch every morning. Wood reads warm and expensive; black metal reads modern café. Shelves usually cost $10–25. Cannot drill? A leaning shelf or the tiered stand in idea 9 gets most of the effect.
7. Hang the Mugs on a Rail or Rack
Mugs eat cabinet and counter space, but on a wall rail they become the decoration. A rail with S-hooks or a mounted rack holds a household’s real mug rotation — about 10–12 hooks fit in roughly 16 inches of wall. Hang it under a shelf or upper cabinet, inside the coffee zone. Rails run $10–20. Strict rental? Over-cabinet-door hook racks need no screws at all.
8. A Pegboard Coffee Wall
A small pegboard panel — even 24 × 24 inches — turns a blank wall into flexible storage: mug hooks, a tiny jar shelf, a filter basket, all rearrangeable. Painted your wall colour it reads calm and built-in; painted cream or soft sage, it is the feature. Panels plus hooks often cost $10–20, and pegboard is a favourite for galley-kitchen end walls where no cart or shelf fits.
9. A Tiered Riser on the Counter
Walls off-limits and counter is all you have? Build up, not out. A two-tier stand makes a mini high-rise — syrups and jars on top, mugs or the sugar bowl below — roughly doubling a 12-inch stretch of counter. Craft and dollar stores sell small crates that stack into a DIY riser for a few dollars (a dollar-store version costs under $10 in materials and stains up rustic). Ready-made stands run $12–25.
Make It Look Expensive (This Is the Cheap Part)
10. Decant Everything Into Matching Jars
Beans in a crinkly bag, sugar in a torn packet, tea in a bright box — brand packaging is visual noise, and the top reason budget setups look budget. Move beans, sugar, and sweeteners into two or three matching glass jars with simple labels: label maker, chalkboard stickers, or tape and a marker. Jars run $2–5 each at dollar and discount stores. Keep them one family — all clear glass, all bamboo lids — and the shelf looks styled for a magazine.
11. Matching Mugs, Mismatched Prices
Three mugs in one colour family look designed. Ten souvenir mugs look like a cupboard exploded. Pick a lane — cream, white, terracotta, sage — and display two to four matching mugs; the rest live in a cabinet. Thrift stores are the best source on earth for this: single mugs usually cost $1–3, and buying one colour family makes “matching” easy over a few visits.
12. The Two-Colours-Plus-Wood Rule
Expensive-looking spaces use a limited palette. Pick two colours and let wood be the third texture: cream + caramel with light wood, white + sage with bamboo, black + white with warm oak. Apply it to everything visible — jars, mugs, tray, sign, plant pot. A cute find in a fourth colour is your cue to say no, however cute it is. This rule costs $0 and separates “random bargains” from “coffee bar” better than any purchase here.
13. A Peel-and-Stick Backsplash
A plain rental wall behind a station looks unfinished, and paint is usually banned. Peel-and-stick tile or removable wallpaper behind the setup frames it like a picture — a designed nook instead of appliances against drywall. You need only a small area, the width of your setup up to the shelf, so one pack (usually $10–20) typically covers it, and it removes cleanly at move-out.
14. Warm Light, Not Bright Light
Overhead kitchen light flattens everything. One warm source changes the mood for very little: battery puck lights under a cabinet or shelf (usually $8–15 a pack), warm fairy lights along a shelf edge, or a tiny lamp. Warm light makes cream tones glow, wood look rich, and a modest setup photograph like a café. Choose warm white — cool, blue-toned light makes nice setups look like an office kitchen.
15. One Café Detail: A Sign, a Print, or a Menu Card
Choose one finishing detail, not five. A small framed coffee print. A mini chalkboard: “but first, coffee.” Or a menu card listing your usual orders — oat latte, iced coffee, hot cocoa — in a small frame. It costs $0–8, makes guests smile, and is the detail people remember. One decor piece reads curated; six read cluttered. The menu card usually wins — it is personal in a way a mass-produced sign never is.
Organize It So It Still Looks Good on a Tuesday
16. Claim One Drawer, Completely
The drawer beneath your station is prime real estate. Claim it fully: pods or filters in one small box, spoons in another, syrups standing at the back. Cheap dividers — or containers you own — stop the daily rummage for $0–10. It doubles as a clutter safety valve: anything that breaks the counter’s look goes in the drawer. Going deeper? Our guide to 15 Coffee Bar Organization Ideas for Tiny Kitchens With No Counter Space tackles exactly this.
17. Syrups in a Row, Pods in a Jar
Two display rules keep any station tidy. Keep syrups to two or three bottles, lined up labels-out, café-style — a crowded syrup collection always looks messier than it is. And decant pods or filters into one clear jar or small basket, not the torn-open box. Keep about a week’s worth out; refills live in a cabinet or the drawer from idea 16. Jars and baskets for this run $2–6.
18. Hide the Cords
Nothing makes a lovely setup look scruffy like black cords snaking across the backsplash. Fix it once: route cords straight down behind the machine, bundle slack with a twist tie or velcro strap, and use adhesive cord clips (a few dollars a pack) to hold the line tight to the wall. A small basket behind the machine hides any excess. Five minutes, roughly $0–5, and your bar photographs twice as expensive.
19. Leave One Empty Spot on Purpose
This is the idea people resist, and it may be the most important here. Empty space is a design feature. One clear patch — the tray’s front corner, a bare stretch of shelf — makes everything around it look deliberate, and gives you somewhere to set a mug while you brew. If every inch is full, the answer is never a bigger station. It is the drawer, the cabinet, or admitting one item does not belong.
Budget Finds That Do the Heavy Lifting
20. Shop the Dollar Store and Thrift Store With a List
Budget shopping fails as browsing; it works as a list. Go in hunting the categories that do the heavy lifting — glass jars with lids, one tray, a wire or woven basket, two to four mugs in your colour family, one frame, chalkboard labels — and leave everything else, however charming. Dollar stores are strongest on jars, baskets, trays, faux greenery, and labels, mostly $1–5 each. Thrift stores win on trays, frames, mugs, and small furniture. One combined trip usually lands at $15–30 and covers most of this article’s styling.
A quick checklist to screenshot:
- ☐ 2–3 matching glass jars with lids
- ☐ 1 tray that fits your spot
- ☐ 2–4 mugs in one colour family
- ☐ 1 small basket or pod jar
- ☐ 1 small frame
- ☐ Labels or a marker
- ☐ 1 tiny plant, real or faux
21. One Splurge Piece, Everything Else Budget
If $15–25 remains after the basics, spend it on the item you touch every day: a mug you genuinely love, a beautiful bean jar, a small pour-over set you enjoy using. One quality piece lifts everything around it — the eye lands on the nice thing and reads the whole station as nice. The reverse never works: ten mediocre decor items cannot rescue a station with nothing you love on it.
Sample Under-$100 Build Plans: Three Ways to Spend It
Pick the tier that matches your kitchen, not your ambition. All tiers assume you own a coffee maker and a mug.
The $25 “Use What You Have” Starter — best if you have a little counter space and want to test the idea this weekend.
Tray from home or thrifted ($0–8) · two matching dollar-store jars ($3–6) · labels ($1–3) · cord clips ($3–5) · print or menu card made at home ($0–3). Total: roughly $10–25.
The $50 Sweet Spot — best if you have a corner or a short counter run and want the finished look.
Everything in the $25 tier, plus a wall mug rail or under-shelf hooks ($10–18), battery puck lights ($8–12), and a small plant ($3–6). Total: roughly $35–50.
The Full $100 Setup — best if you have no counter space and need a base, too.
Slim rolling cart ($25–45) · floating shelf ($12–22) · matching jars, tray, and labels ($10–18) · one pack of peel-and-stick backsplash ($10–18). Total: roughly $70–100.
Notice what is not in these plans: decorative sign piles, seasonal decor, or a second appliance. That restraint is the whole strategy. And if you would rather follow a start-to-finish order of operations, our How to Build a Coffee Bar in a Small Kitchen — Beginner Step-by-Step Guide walks the same kind of build step by step.
7 Mistakes That Make a Small Coffee Bar Look Cheap
- Leaving products in their packaging. Bags, boxes, and bright labels are visual noise. Decant or hide — this alone is half the battle.
- Too many colours. Four or five competing colours read “random.” Two colours plus wood reads “designed.”
- Everything out at once. A station displaying every pod, syrup, and mug you own looks like storage, not a café. A week’s worth out; the rest away.
- Buying decor before basics. A cute sign cannot fix a station with nowhere to set a mug down. Base, storage, then styling — in that order.
- Oversized pieces in a small spot. A huge tray, giant plant, or big framed sign overwhelms a 24-inch setup. Small spaces reward small proportions.
- Only harsh overhead light. Cool, flat light cheapens everything it touches. One warm light source fixes the mood for a few dollars.
- Filling every inch. No empty spot means no focal point. In a small space, clutter is the fastest route to looking cheap.
FAQ
Can I really build a coffee bar with no counter space at all?
Yes. The three proven routes are a slim rolling cart in a floor gap (12–16 inches wide), a station inside a cabinet, or a surface you already own — mini fridge top, microwave cart, or bookshelf. Add a wall shelf or mug rail above any of them and the bar is complete.
How much space do I actually need for a small coffee bar?
Less than you think. About 18–24 inches of counter width fits a compact machine, a canister, and a mug. A typical machine needs a footprint of roughly 6 × 12 inches plus headroom for its lid, and standard counter depth (about 24 inches) is plenty.
Are these ideas renter-friendly? Will I lose my deposit?
The core setups are: trays, carts, cabinet stations, and furniture-top stations need no installation at all. Rails and shelves use small screws — check your lease. Where drilling is banned, use over-door hook racks, leaning shelves, weight-rated adhesive hooks, and peel-and-stick tile that removes cleanly. Nothing here is permanent.
Can I do this for under $50 instead of $100?
Yes — the $25 and $50 plans above are built for exactly that. Under $50 works best when you already have some counter space and a tray at home; spend on matching jars, labels, a mug rail, and warm light rather than a cart or shelf.
What should I buy first if I am starting from zero?
In order: (1) a base — tray, cart, or a claimed corner; (2) two matching jars for beans and sugar; (3) a way to hold mugs that is not the counter, even just hooks; (4) one warm light or café detail. Decor comes last, and only if money is left.
How do I keep a small coffee bar tidy day to day?
Give everything one home, keep only a week’s worth of consumables out, wipe the tray when you wipe the counter, and protect your one empty spot. A 30-second nightly reset — mugs back on the rail, lids on jars — separates a coffee bar from a coffee pile.
Your Coffee Bar Does Not Need More Space. It Needs a Plan.
A small kitchen is not a failed big kitchen. It just asks you to choose on purpose: one spot, one base, two colours, matching jars, a warm light, and room to breathe. That combination — most of it free or thrifted — is what makes a setup look expensive.
Start with three ideas this week. The tray, the jars, and the corner rule will carry you surprisingly far.
Love saving setups like these? Follow BrewNesta on Pinterest for small-space coffee bar ideas, organization tricks, and budget finds made for real apartments — and when you are ready to go deeper, our organization guide and step-by-step build guide (both linked above) will take you the rest of the way.
2 Comments