
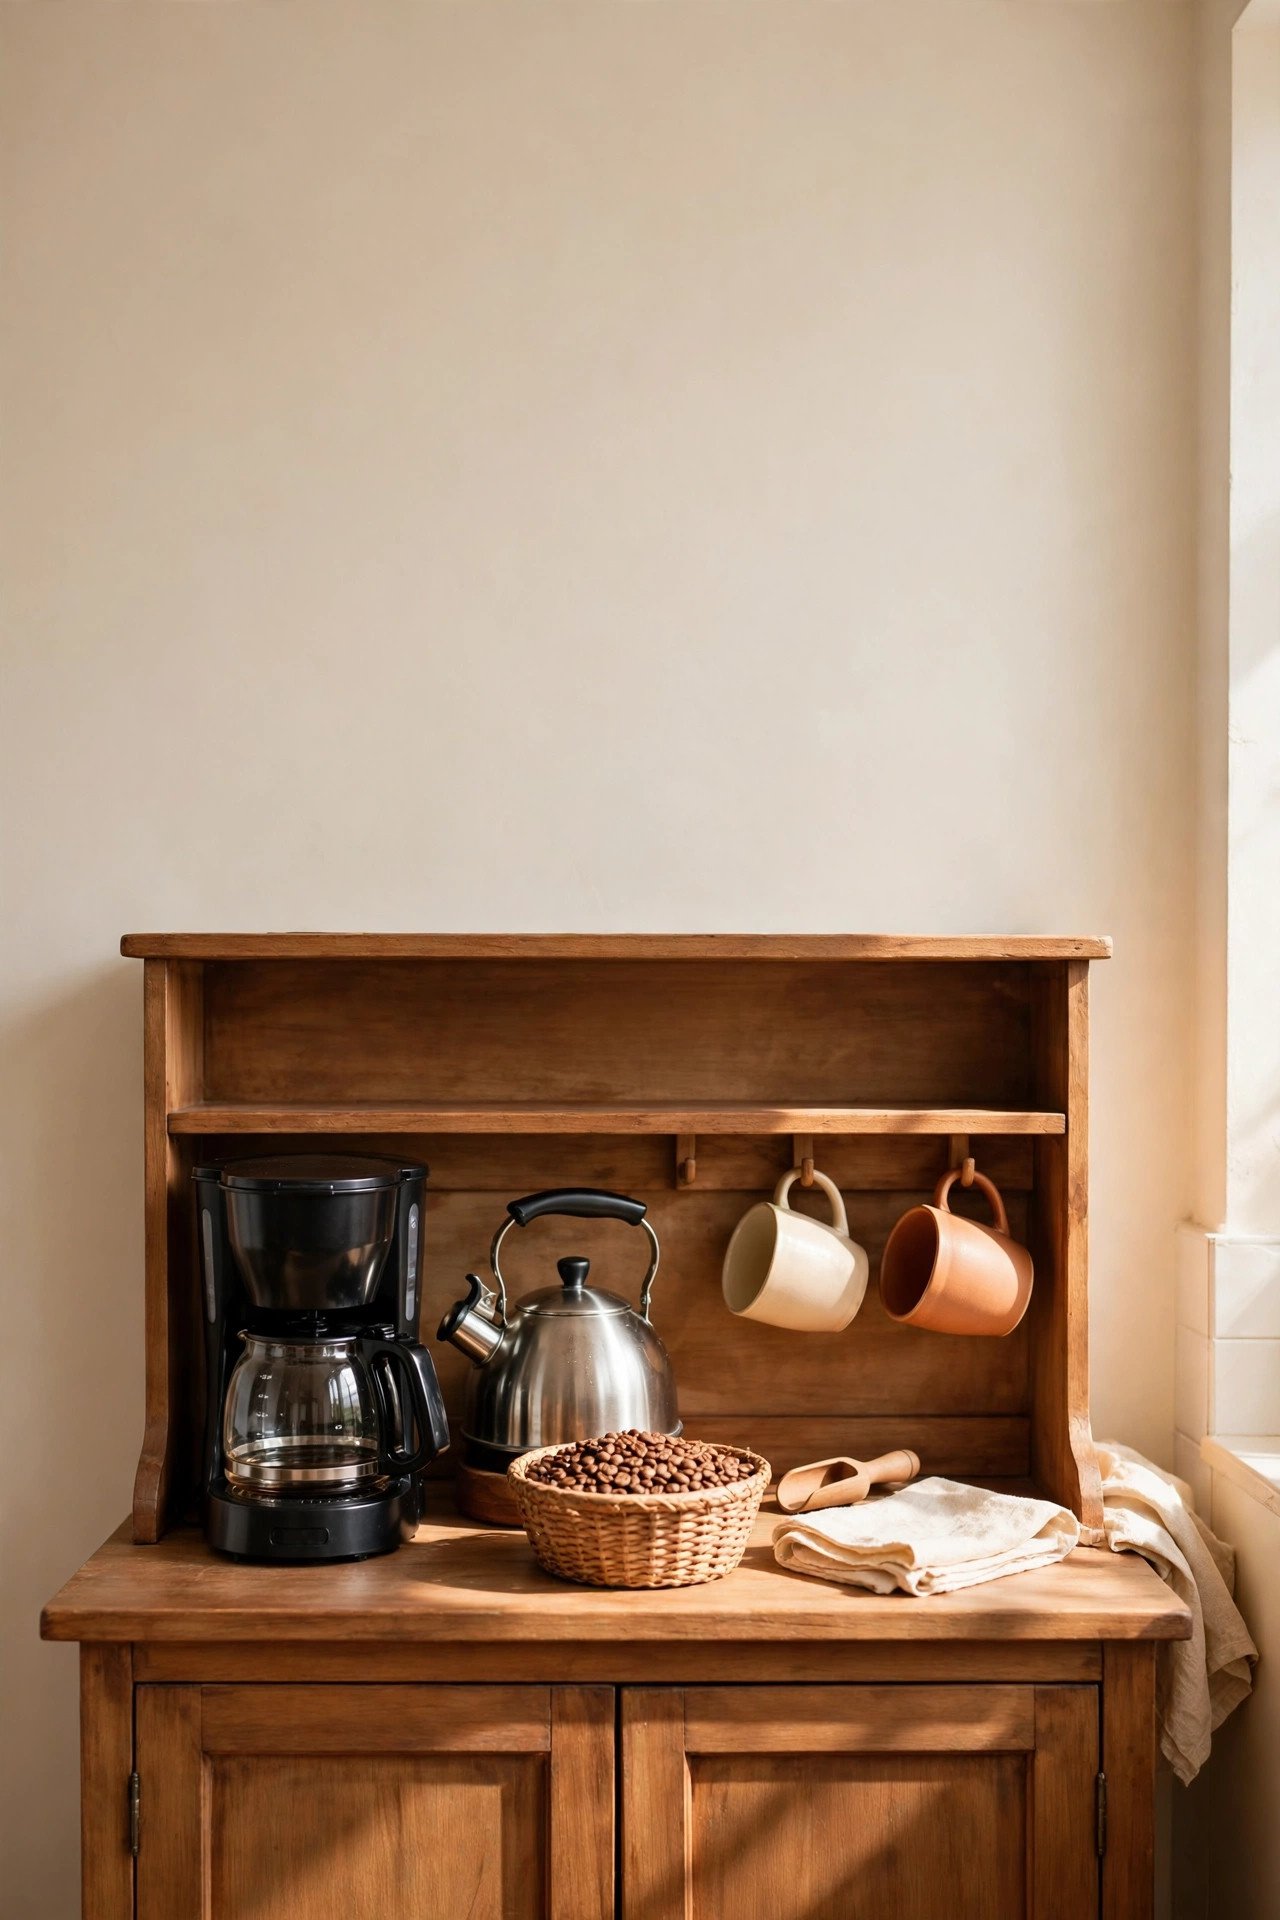
How to Build a Coffee Bar in a Small Kitchen — Beginner Step-by-Step Guide
Introduction: You Don’t Need a Big Kitchen — You Need a Small Plan
If you have ever saved a photo of a gorgeous coffee bar, looked at your own tiny kitchen, and thought “must be nice,” this guide is for you. Most coffee bar inspiration shows long counters, built-in shelves and machines that cost more than a month of rent. Your kitchen has one short stretch of counter, upper cabinets that hang low, and an outlet that is somehow always in the wrong place.
Here is the honest truth: a coffee bar is not a room, a remodel or a shopping spree. It is one dedicated spot — sometimes as small as 18 inches wide — where your brewer, your coffee and your favorite mugs live together so your morning runs on autopilot. Everything else is decoration, and decoration comes last.
This guide walks you through exactly how to set up a coffee bar in a small kitchen, in the right order: plan and measure first, place the machine second, build simple zones third, style last. Most beginners can finish in one weekend, using mostly things they already own. By the end, you will know your measurements, your three zones, what to buy, what to skip, and how to do it for under $50, $100 or $250.
Before You Buy Anything: The Planning Step Most Beginners Skip
Every sad coffee bar story starts the same way: someone bought a beautiful machine or a cart first, and measured never. Fifteen minutes of planning saves you returns, clutter and a machine that does not fit under your cabinets. Work through these four checks before a single dollar leaves your wallet.
1. Do a quick space audit (and take 5 measurements)
Look for candidate spots with fresh eyes: the end of a counter run, a corner, the gap beside the fridge, one cabinet you can empty, or a patch of floor where a slim cart could park. Then write down these five numbers for your best spot:
- Width — how many inches can the coffee bar claim? Eighteen inches is a workable minimum for one brewer, a canister and a mug. Twenty-four feels comfortable.
- Depth — a standard counter is about 25 inches deep. A cart or shelf can be as shallow as 12 inches if your machine is slim.
- Counter-to-cabinet gap — the standard is about 18 inches between countertop and upper cabinets.
- Machine height with the lid OPEN — plus 2 to 3 inches for your hand. This is the measurement that ruins more setups than any other: many brewers fit under the cabinets closed, then cannot be refilled because the tank lid flips up into the cabinet.
- Distance to the nearest outlet — most machine cords are only 2 to 3 feet long, so your spot needs an outlet within unstretched reach.
Write the numbers in your phone. Every purchase from here on gets checked against them.
2. Check the power situation honestly
Coffee gear is thirsty for watts. Espresso machines and electric kettles commonly draw 1,200 to 1,600 watts each, and a standard kitchen circuit can trip if you run two heating appliances at once. The beginner rules are simple: plug the machine directly into a wall outlet (near a sink, it should be a GFCI outlet), keep it to one heating appliance per outlet at a time, and never use a cheap power strip for a machine or kettle. If your only free outlet is across the room, that spot is not your coffee bar spot — move the plan, not the cord. Extension cords draped across counters are a spill-and-trip hazard, too.
3. Think about water
You will refill a water tank or kettle almost daily, so your spot should be within a few steps of the sink — not across the kitchen, and not in another room unless you keep a filled filter pitcher at the station. Filtered water tastes noticeably better in coffee and slows mineral scale inside your machine, which means less descaling later.
4. Pick your budget tier — and your brewer — before the pretty stuff
Decide what you actually drink on a normal weekday morning, not what you would make for guests once a month. Pod drinker? Your setup can be tiny. French press or pour-over? You need kettle room and a heat-safe surface, not counter width. Espresso lover? Budget for clearance above the machine and elbow room to work.
Then pick a tier and let it discipline your list: under $50 means thrifted and mostly what you own; under $100 adds one anchor piece like a cart; under $250 adds a compact machine or better storage. You will see all three built out later in this guide.
Still deciding what style suits your space? Browse our roundup of 21 Small Coffee Bar Ideas for Apartments That Look Expensive But Are Under $100 for layout inspiration first — then come back and build the one you picked.
The Step-by-Step Build
Step 1: Choose the Spot
The right spot has three things at once: an outlet within cord reach, water within a few steps, and a location outside your main cooking path. The usual winners are the end of a counter run (away from the stove), a corner, or the strip beside the fridge. Avoid the counter right next to the stove — cooking grease settles on machines and mugs — and avoid direct all-day sun, which stales coffee beans. If your spot sits in the walkway between fridge and sink, it will get bumped daily; corners and ends of runs stay peaceful.
Quick decision tree: have 18 inches or more of counter near an outlet? Choose the counter. Have zero counter but a 12-to-18-inch gap beside the fridge? Choose a slim rolling cart. Want it out of sight? Build inside one cabinet near an outlet. All three are real coffee bars.
Step 2: Choose the Base or Furniture
Your base is the surface everything lives on. On a counter, “base” means a tray or mat that marks the territory — a tray makes a random cluster of items read as one intentional station, and it catches drips. For a cart, check two numbers before buying: the top shelf should be at least 1 inch deeper than your machine’s footprint, and the cart’s weight rating should comfortably exceed your machine’s weight — about double is a safe margin once you add a full water tank and mugs. Locking wheels matter, because a cart that rolls while you pour hot coffee is a bad morning. A counter-height cart (roughly 30 to 36 inches tall) is most comfortable to work at.
Repurposed furniture works too: a small bookshelf, side table, microwave stand, or the top of a mini fridge. Renters, choose freestanding pieces — nothing here requires drilling.
Step 3: Place the Machine First
The machine is the largest item and the anchor; everything else arranges around it. Set it in front of the outlet, pushed toward the back of the counter but not touching the wall — leave a little air behind for the cord and for steam to escape. Before plugging it in, open the lid or tank fully and confirm it clears the cabinets with room for your hand. If it does not, slide the machine forward of the cabinets or move it where no cabinets hang overhead; dragging a machine out every morning to add water is how coffee bars quietly die.
Put a washable mat or tray under the machine to catch drips, and wrap extra cord neatly at the back so nothing hangs over the counter edge.
Step 4: Build Your Three Zones
A coffee bar works when it follows the order you actually use it. Arrange three zones in a row — most right-handed people like them left to right, mirrored for left-handers:
- Brewing zone: the machine, plus the grinder if you use one, and the coffee itself. Coffee lives in an airtight, opaque canister kept away from heat and light — not in a clear jar in a sunny spot, and not in the fridge, where it picks up moisture and odors.
- Storage zone: the daily supplies — filters or pods, sweetener, spoons — corralled in one caddy or pod holder so the zone has edges. Backstock (extra beans, spare filters, descaler) goes in the cabinet above or drawer below, never spread across the counter.
- Serving zone: your mugs and what goes in the cup last — syrups, sugar, the frother. Two mugs per coffee drinker plus two for guests is plenty on display; a mug tree or a few no-drill hooks keep them in about 6 inches of footprint. Keep about 8 inches of clear “landing space” at the front edge for setting down a hot mug and pouring.
When counter width runs out, grow upward: one shelf 12 to 16 inches above the machine holds mugs and canisters without stealing workspace. If your counter is truly gone, our guide to 15 Coffee Bar Organization Ideas for Tiny Kitchens With No Counter Space goes deeper on vertical and hideaway storage.
Step 5: Style It in Layers (Pretty Comes Last)
Now — and only now — the fun part. Style in three light layers. Layer one is a backdrop: a small sign, a framed print, or a peel-and-stick tile panel behind the station (removable, so renter-safe). Layer two is height: a tiered stand, a small plant, or a stack of pretty mugs breaks up the flat line of the counter. Layer three is texture and matching: mugs in one color family, a wood tray against a metal machine, one warm accent repeated twice.
Follow the display rule that makes small stations look expensive: surface the pretty things, hide the rest. The canister and your two favorite mugs earn counter space; spare cords, half-used pod boxes and cleaning supplies go behind a cabinet door. And cap yourself at two syrups — a syrup collection is how a tidy station turns into a cluttered shelf.
Step 6: Add Lighting and Do a Morning Test Run
Small kitchens are often dim in exactly the corner where the coffee bar lands. Warm under-cabinet light makes the station feel like a café and helps you see spills; battery puck lights or an adhesive LED strip do the job with no wiring and no landlord issues. Keep the light warm, not harsh blue-white — this is a cozy ritual corner, not a dentist’s office.
Then do the step almost nobody does: a full test run at real morning speed. Make your actual weekday coffee, half-awake, and notice every annoyance. The mugs are one step too far. The tank is awkward to refill. Fix those things now, live with the setup for a week, and edit once more. A coffee bar is finished when 7 a.m. you has zero complaints.
Your Starter Shopping Checklist: Buy This, Skip That
Must-have (the station does not work without these):
- The brewer you already own and use — pod, drip, French press, pour-over or a compact espresso machine
- An airtight, opaque canister for coffee
- Two to four everyday mugs
- A tray or washable mat to define the zone and catch drips
- Coffee, plus filters or pods if your brewer needs them
- A small spoon or scoop, a cleaning cloth, and descaler for maintenance
Nice-to-have (add when the basics feel easy):
- A mug tree or no-drill under-cabinet hooks
- A tiered countertop stand or one shelf above the machine
- One or two favorite syrups and a small milk frother
- An electric kettle (essential for pour-over, lovely for everything else)
- A filter pitcher, labels, a tiny plant or sign
Skip for now (the beginner budget traps):
- A second machine “for guests”
- The five-piece matching canister set — one is enough
- A shelf of syrups in flavors you have not tried
- An oversized espresso machine your measurements said no to
- Decor bought before the machine is even placed
Three Example Builds by Budget
The under-$50 build — “The Tray Bar.” Start with the brewer you already own, set on a thrifted wood or metal tray. Add a secondhand canister (or a clean jar kept inside a cabinet — opaque storage matters more than looks), a thrifted mug tree or a few hooks, and one small plant as the single pretty thing. Most of this budget goes to the tray and storage; the point is proof that a defined, tidy station — not new gear — is what changes your mornings.
The under-$100 build — “The Cart Bar.” The zero-counter-space hero: a slim three-tier rolling cart with locking wheels, parked beside the fridge or against a wall near an outlet. Brewer on top, mugs and canister in the middle, backstock and cleaning supplies below. Add a mat under the machine and one set of matching mugs, and you have a full coffee bar on about two square feet of floor that moves apartments with you.
The under-$250 build — “The Counter Corner, Upgraded.” Keep your counter spot and spend on comfort: a compact machine upgrade, or a good kettle-and-frother pairing if your brewer is the weak link, plus one shelf above the machine, a tiered stand for the serving zone, warm under-cabinet lighting, and a backdrop panel that makes the corner feel designed. This tier buys ease — everything within one arm’s reach.
6 Beginner Mistakes That Quietly Wreck a Small Coffee Bar
- Buying before measuring. The machine fits the counter but not under the cabinets with its lid open. Measure first; shop second — always.
- Setting up next to the stove. Grease and steam coat the machine, the mugs and the beans. Coffee deserves the quiet end of the counter.
- Overloading one outlet. A machine and a kettle heating at once can trip the breaker, and cheap power strips are not a safe workaround.
- Decorating before organizing. Syrups, signs and matching sets bought first become clutter the station has to fight. Zones first, styling last.
- Leaving no landing space. If there is nowhere to set a hot mug down, the whole kitchen becomes the overflow. Protect your 8 inches of clear front counter.
- Storing beans in a pretty clear jar on a sunny counter. Light and heat stale coffee fast. Airtight, opaque and cool is the whole rule — the jar can still be cute, just keep it shaded or in the cabinet.
Frequently Asked Questions
How much space do you really need for a coffee bar in a small kitchen?
About 18 inches of width is enough for a working station: one brewer, one canister and a mug, especially with a tray defining the area and a shelf adding height. With 24 inches you can add a proper serving zone. And with no counter at all, a slim cart or a single cabinet gives you a complete coffee bar on zero counter space.
Where is the best place to put a coffee bar in a small kitchen?
Where three things meet: an outlet within the machine cord’s reach, the sink within a few steps, and a spot outside the main cooking path. The end of a counter run, a corner, or the stretch beside the fridge are the classic winners. Avoid the stove’s splash zone and any spot where the machine’s open lid hits the cabinets.
What do I need for a coffee bar as a complete beginner?
Less than the internet suggests. Start with the brewer you already use, an airtight canister, two to four mugs, a tray or mat, your coffee and its filters or pods, and a cloth for drips. That is a complete coffee bar. Everything else — syrups, frothers, shelves, signs — is an upgrade to add one at a time.
Can I build a coffee bar in a rental without drilling or damage?
Yes — most of this guide is renter-friendly by design. Use a rolling cart or freestanding furniture instead of mounted shelves, adhesive hooks and battery puck lights instead of wired fixtures, and peel-and-stick panels instead of tile. Your coffee bar moves out with you, deposit intact.
How much does it cost to set up a small coffee bar?
It can honestly start under $50 using the brewer you own plus thrifted storage and a tray. Around $100 adds a rolling cart, which solves the no-counter problem completely. Around $250 upgrades comfort — better storage, lighting, maybe a machine or kettle upgrade. It should never require buying everything at once; the best coffee bars grow one good piece at a time.
How do I keep a small coffee bar from looking cluttered?
Give everything a zone and give the zones edges — a tray, a caddy, a drawer. Keep only daily items out, store backstock behind doors, and follow the one-in-one-out rule: when a new jar or mug joins the station, something else leaves. A two-minute wipe-down while the coffee brews keeps it looking styled instead of used.
Conclusion: Your Corner Café Opens This Weekend
You now have the whole recipe: measure five numbers, check the outlet and water, choose a spot and a base, place the machine first, build your three zones, style last. Nothing on that list needs a big kitchen, a big budget or a single hole in the wall.
Once your bar is built, check it against our coffee bar essentials checklist — the 12 must-haves for a small home cafe, with budget picks and space-saving tips.
If this guide helped, save it to your coffee bar board on Pinterest and follow BrewNesta there — we share small-space coffee bar ideas, organization tricks and honest budget finds for tiny kitchens like yours, every week. Your corner café is closer than you think. Go measure that counter.
3 Comments