
15 Coffee Bar Organization Ideas for Tiny Kitchens With No Counter Space
If your coffee maker lives wherever it landed — half on the cutting board, pods in three cabinets, mugs stacked two deep where you can’t reach the back one — you don’t have a coffee problem. You have a counter problem. In a tiny kitchen, coffee gear spreads because it never got assigned a home, and every morning starts with a small scavenger hunt.
The good news: a working coffee bar doesn’t need much counter. It needs zones. When the machine, mugs, flavorings and backstock each get one deliberate home — on a wall, in a drawer, behind a door, on a cart — the counter you have feels twice as big. The 15 ideas below are organized by where the storage goes, not by how pretty it looks, because practical comes first here. Most are renter-friendly and under $30; several cost nothing.
Measure First: The 5 Numbers That Decide Everything
Before buying a single organizer, grab a tape measure. Almost every “it doesn’t fit” story comes from skipping these five numbers.
- Counter depth. A standard counter is about 25 inches deep. Your machine takes 12–16 inches of that, leaving roughly 8 inches of “landing space” in front — protect it. That’s where the mug sits while you pour.
- The gap to the upper cabinets. Standard is 18 inches (15–20 is the common range). This is the number that fails most people.
- Your machine’s height with the lid OPEN. A pod brewer’s handle or a drip machine’s lid adds inches. Measure it open, then add 2–3 inches for your hand. If the total beats the gap, the machine lives pulled forward or somewhere with no cabinet above it — just know it now.
- Shelf height above the machine. Leave 12–16 inches of clear space above the machine so the lid opens and steam escapes.
- Your mug count. Be honest. Two mugs per person, plus two for guests, is a sane display limit. The rest lives in one cabinet as backstock.
Write them down. Every idea below names the number it depends on.
Go Vertical: Walls and Height Do the Heavy Lifting
1. One Narrow Floating Shelf Above the Machine
A single shelf, 6–8 inches deep, mounted above your machine turns dead wall into storage for canisters, beans and two or three everyday mugs. Keep it shallow — a deep shelf over a small station looks heavy and crowds the machine. Respect measurement #4: it goes high enough that lids open and steam clears. Renters, be honest here: a real floating shelf needs screws into studs. If your lease says no, skip to idea #5 — the freestanding version gives you the same storage with zero holes.
2. Under-Cabinet Mug Hooks
The strip of air under your upper cabinets is free storage. Slide-on mug racks clip over the bottom edge of a cabinet shelf — no tools, no marks — and hold roughly 4 to 10 mugs by their handles. Screw-in hooks give custom spacing if small holes underneath are allowed (invisible at move-out; filler fixes them). Keep mugs a few inches apart so they don’t clink, and hang them beside the machine, not over the stove, where grease coats them.
3. A Tiered Countertop Riser for Syrups and Small Supplies
If a few square inches of counter is all you have, spend them vertically. A two-tier stand beside the machine holds syrups in the back row and cups, sugar and stirrers in front — same footprint, double the storage. Syrup drinkers: limit the lineup to two or three weekly flavors, measure your tallest bottle with its pump on before buying a riser, and keep bottles out of the steam path so labels don’t peel.
4. A Backsplash Rail With S-Hooks
A slim rail across the backsplash holds a surprising amount on S-hooks: a scoop, a small towel, a frothing pitcher, even a couple of mugs. Match the finish to your faucet or hardware and it reads as intentional, not improvised. Adhesive rail systems exist for light items if drilling is out — respect the weight rating and keep anything heavy or breakable off them.
5. A Freestanding Shelf Bridge Over the Counter
This is the renter’s floating shelf: a freestanding unit that stands on the counter and gives you one or two shelves above your machine with no installation at all. Check the inside height against measurement #3 — your machine, lid open, must fit underneath — and keep the top shelf for light things like filters and tea. It lifts away at move-out, making it one of the best first buys in a rental.
Rolling and Mobile: A Station That Can Move Out of the Way
6. A Slim Rolling Cart as the Whole Coffee Bar
The single best answer to “I have no counter space” is to take the station off the counter entirely. A three-tier utility cart, 16–20 inches deep, parks beside the fridge, at the end of a counter run, or in a dining corner. Machine on top (near the outlet), mugs and daily coffee in the middle, backstock — filters, extra beans, cleaning tabs — on the bottom. Get locking wheels: a cart that rolls away while you pour hot coffee is a bad morning. When dinner needs the room, the whole bar rolls aside. Most land in the $25–$45 range; thrift stores are full of them.
7. An Under-Brewer Pod Drawer
A low metal drawer under a pod brewer turns the machine’s own footprint into storage — most hold around 36 pods and add only about 3 inches of height. Now do the math with measurement #2: machine height plus 3 inches plus lid-open clearance must still fit your cabinet gap, or you’ll slide the brewer forward to open it (annoying, but workable). Keep one or two pod varieties in it; bulk boxes live elsewhere. Counter space cost: zero. That’s the whole point.
8. The Boundary Tray
The cheapest organizer on this list: one tray, slightly larger than your machine’s base, that everything must fit on. Syrup caddy, sugar, one mug, the machine — if it doesn’t fit on the tray, it doesn’t live at the station. A tray gives a scattered counter a visible boundary and makes the station lift-and-move portable when you need the counter for cooking. Wood, metal or washable stone-look all work. Many readers already own the right tray — check above the fridge before buying one.
Hidden Storage: Inside Cabinets and Corners
9. The Hideaway Cabinet Coffee Station
Dedicate one cabinet — ideally near an outlet — and put the whole station behind a door. Machine on a heat-safe mat on a sliding tray so it pulls forward for brewing, supplies in a bin beside it, mugs on the shelf above. One safety rule is non-negotiable: never brew with the door closed. Pull the machine forward so steam vents into the room, not into the cabinet wood — steam damages finishes over time. Done right, this is the calmest-looking option of all: close the door and the kitchen looks empty.
10. Cabinet Shelf Risers and Labeled Backstock Bins
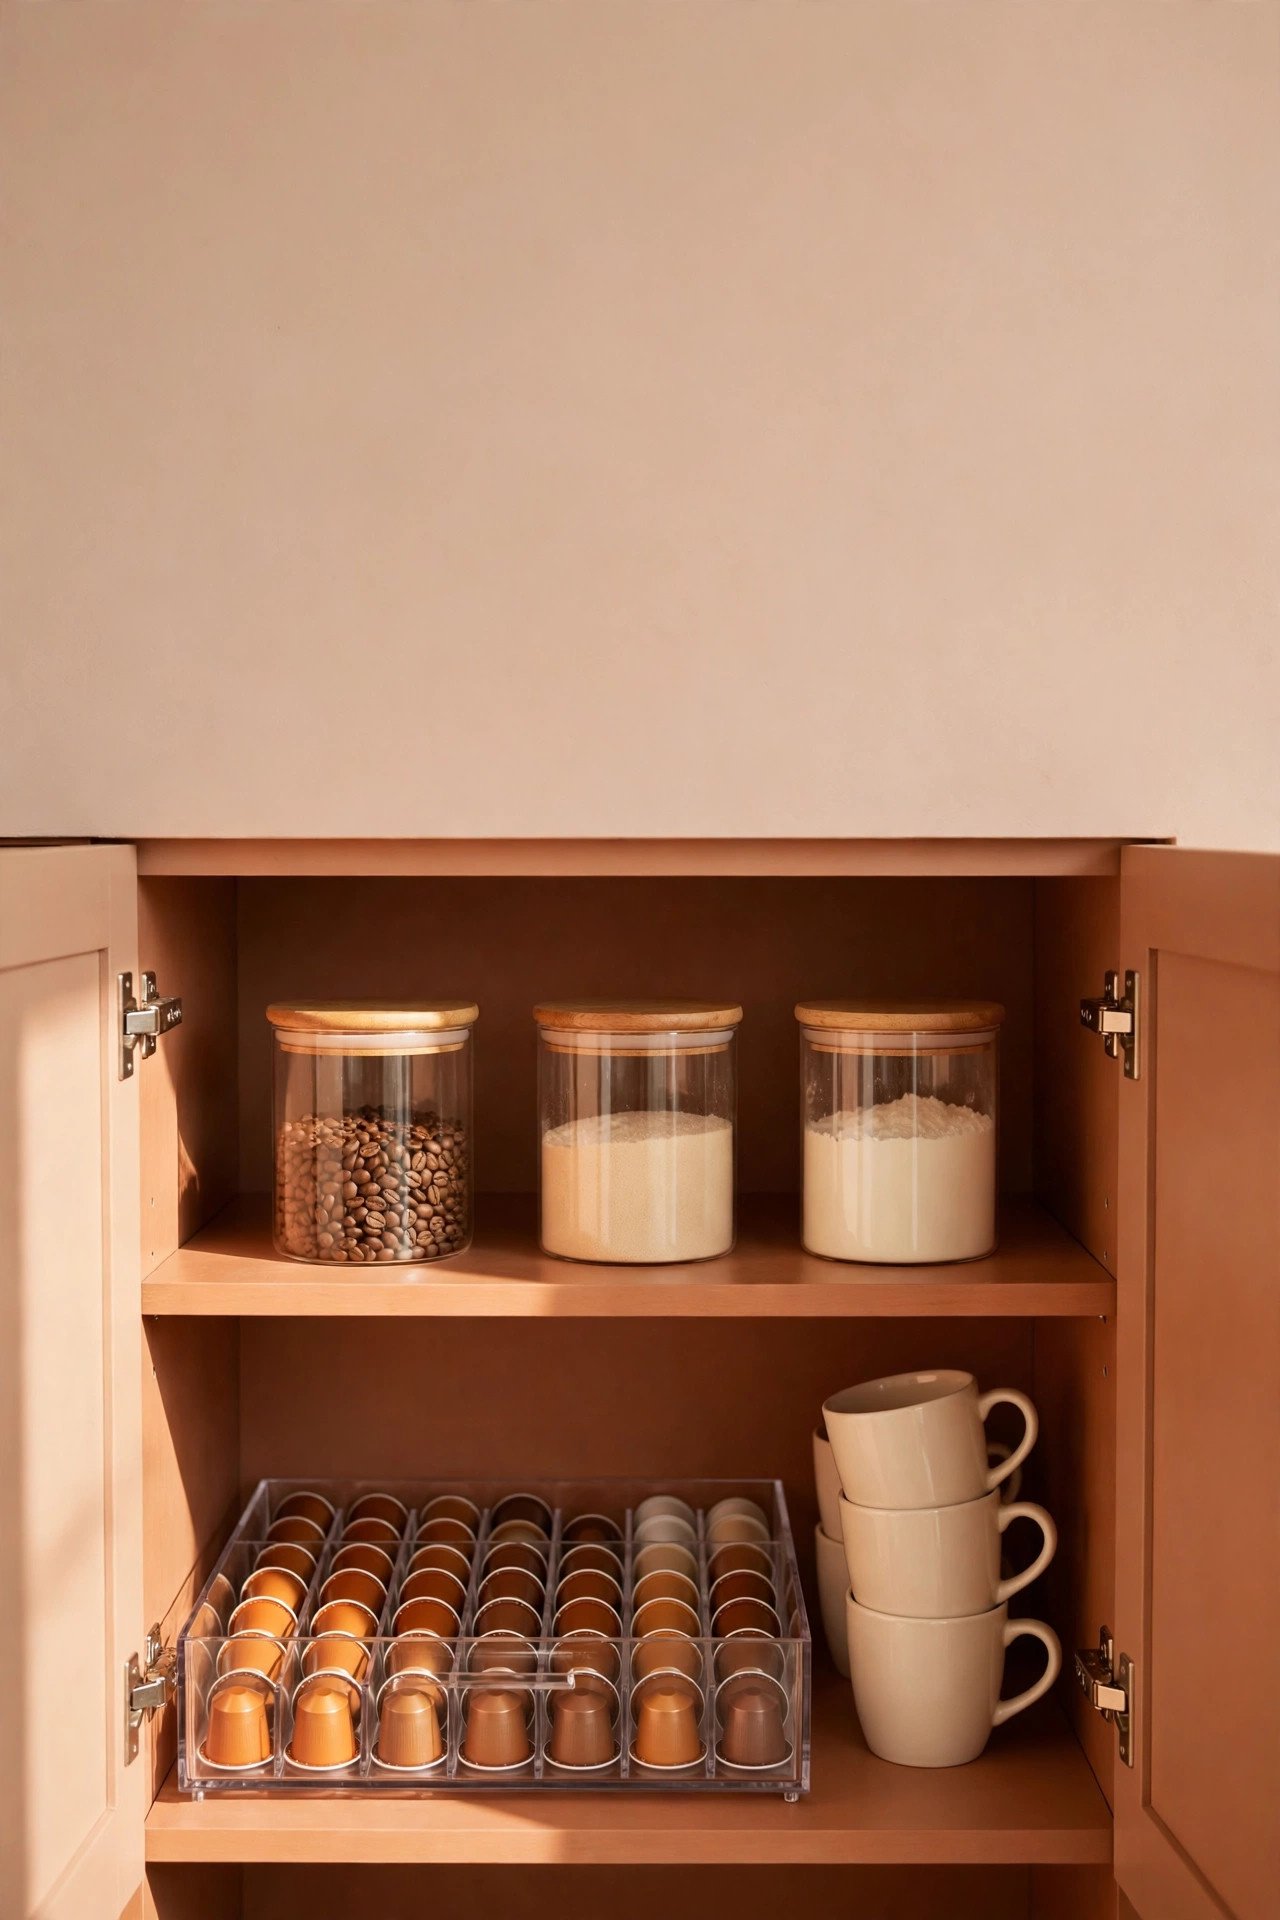
Cabinets waste vertical space — there’s usually a mug’s worth of empty air above everything. A simple shelf riser doubles one cabinet shelf into two levels: everyday mugs in front, backstock behind. Pair it with two or three small clear bins sorted by job — pods, filters and tea; sweeteners and packets; cleaning and descaling — labeled on the front. The working rule: keep about two weeks of pods at the station and let the bins hold the rest. Clear bins beat pretty baskets here because you can see when you’re running low.
11. A Corner Turntable for the Awkward Cabinet
Corner cabinets swallow things. A lazy Susan turntable fixes the geometry: one spin brings syrups, beans and jars from the back to the front, so nothing gets lost and re-bought. Measure the cabinet door opening, not just the inside — the turntable has to fit through the door — and leave a finger’s width so it spins freely when loaded. Keep heavy glass bottles toward the center so the spin stays balanced.
Doors and Walls: The Storage You Walk Past Every Day
12. An Over-the-Door Basket Organizer
The inside of a pantry or closet door is roughly six square feet of storage most apartments ignore. A hanging basket organizer needs no tools — it hooks over the door top — and it’s perfect for the light, flat, lose-able stuff: filters, pod sleeves, sugar packets, tea, a spare bag of beans. Two checks before buying: standard interior doors are about 1⅜ inches thick, so confirm the hooks fit, and close the door slowly once to be sure the rack clears the frame. Add the felt pads most kits include — they stop the rattle.
13. A Pegboard or Wall-Grid Coffee Wall
If you have one bare stretch of wall near an outlet, a pegboard or wire grid turns it into a full coffee wall: mugs on hooks, a small basket for pods, a narrow shelf for beans, the scoop and towel on pegs. Everything visible, nothing on the counter — and rearrangeable as your routine changes. Renters: a real pegboard needs anchors, so this one is for long leases or walls you have permission to drill. Everyone else can fake a smaller version with a freestanding grid panel leaned on the counter — less capacity, zero holes.
Drawers: Flat Storage That Disappears
14. A Dedicated Coffee Drawer With Dividers
The drawer nearest your machine is prime real estate. Fitted with dividers or shallow bins, one drawer swallows pods, tea bags, filters, spoons, stirrers and napkins — all flat, all visible at a glance, all off the counter. Measure the drawer’s inside height before buying inserts: pods stand about 2 inches tall, so most drawers work, but slim apartment drawers can be shallower than you think. A non-slip liner keeps dividers from migrating every time the drawer closes. Counter result: machine, tray, done.
15. Deep-Drawer Mug Storage
No upper cabinets, or cabinets too high to reach comfortably? A deep drawer stores mugs upright, handles up, where they’re easy to grab and impossible to knock off a shelf. A peg-style insert or non-slip liner keeps them from sliding and chipping. Keep it to your everyday set — a drawer of twelve mugs is a collection problem, not a storage solution — and let the extras live in the backstock cabinet.
Set Up Your Zones in 30 Minutes
Organization sticks when it follows the order you actually make coffee. Time yourself with this reset — most kitchens need only this, no shopping at all. (Building from zero instead? Our “How to Build a Coffee Bar in a Small Kitchen — Beginner Step-by-Step Guide” walks through choosing the spot itself.)
- Empty the zone (5 min). Everything coffee-related comes off the counter and out of the nearest cabinet and drawer. Wipe the surfaces.
- Sort into four piles (5 min). Brew (machine, coffee, filters/pods), Mugs, Flavor (syrups, sugar, spoons), Backstock (extras, cleaning, duplicates).
- Place the machine first (2 min). Nearest the outlet, lid-open clearance checked, landing space protected.
- Assign each pile one home (10 min). Mugs up (hooks, rail, tree or drawer), flavor in one caddy or riser, backstock in one bin or on the door. One pile, one home — no pile gets two.
- Edit the counter (5 min). Only the machine, the tray and today’s mug stay out. Everything else is reachable in one step but invisible at a glance.
- Walk the routine (3 min). Fill, brew, flavor, done — in order, without crossing the kitchen. If you zigzag, swap two homes until the path makes sense.
5 Organization Mistakes That Make a Small Kitchen Feel Smaller
- Buying organizers before measuring. The riser that blocks the lid, the cart an inch too wide for the fridge gap — nearly all regrets trace back to skipping the five numbers above.
- Keeping the whole stash at the station. Twelve syrup flavors and 200 pods on display reads as clutter, not café. Two weeks of supplies at the station; the rest is backstock with a home of its own.
- Hanging mugs over the stove or sink. Grease coats them from cooking, and sink steam keeps them damp. Beside the machine is the spot.
- Ignoring steam. Machines under low shelves or in closed cabinets quietly damage finishes. Ventilation is part of organization.
- Loading heavy things up high. Full syrup bottles and the grinder belong low — a cart’s bottom tier, a cabinet — not on top of a freestanding rack that can wobble.
FAQ: Coffee Bar Organization in Tiny Kitchens
Where can I put a coffee maker if I have no counter space at all?
On a slim rolling cart beside the fridge, inside one dedicated cabinet on a sliding tray (pulled forward to brew), or on a small console table or bookshelf you already own. The requirements never change: an outlet within cord reach, lid clearance, and landing space for your mug.
How do I store K-Cups or pods in a small kitchen?
An under-brewer drawer holds roughly two weeks of pods in the machine’s own footprint. A divided kitchen drawer works too and costs less. Keep one or two varieties at the station; store bulk boxes in a cabinet bin so restocking takes ten seconds.
How many mugs should I keep at my coffee station?
Two per person, plus two for guests — for most small households, four to eight mugs in hooks, on a tree or in a drawer. Everything beyond that is a collection: give it one backstock shelf instead.
Can I run my coffee maker inside a cabinet?
Store it there, yes — but pull it forward to brew. Brewing inside a closed or tight cabinet traps heat and steam, which damages finishes and can be unsafe. A sliding tray makes the pull-forward habit effortless.
How can I organize a coffee bar without drilling any holes?
Use the zero-hole list: rolling cart, freestanding shelf bridge, slide-on under-cabinet mug racks, adhesive hooks (light items only), over-the-door organizers, drawer dividers and the tray method. Renters can build a complete station from those alone — and take every piece along at move-out.
Should coffee syrups live on the counter or in the fridge?
Follow the label — directions vary by brand. Practically: keep two or three everyday flavors at the station on a tray or riser (measured with pumps on), and give the rest a cool cabinet home away from the stove’s heat.
Your Counter Is Bigger Than You Think
None of these ideas adds a single inch to your kitchen. What they add is assignment: every pod, mug and bottle gets one home, chosen by how often you reach for it. Start with the measuring tape, pick the two or three ideas that match your numbers, and let the rest wait. A tiny kitchen with zones feels calmer than a big kitchen without them — your mornings will prove it within a week.
Ready to build the station itself? Start with our beginner walkthrough, “How to Build a Coffee Bar in a Small Kitchen — Beginner Step-by-Step Guide,” and if budget is the real constraint, “21 Small Coffee Bar Ideas for Apartments That Look Expensive But Are Under $100” shows how far a small budget stretches. Save this guide to your Coffee Bar Organization & Storage board for organizing day — and follow BrewNesta on Pinterest for a new small-space coffee idea every week.
One Comment